
This blog is reader supported, and some of the links in this post are affiliate links, meaning, at no additional cost to you, I will earn a commission if you click through and make a purchase. As an Amazon Associate I earn from qualifying purchases.
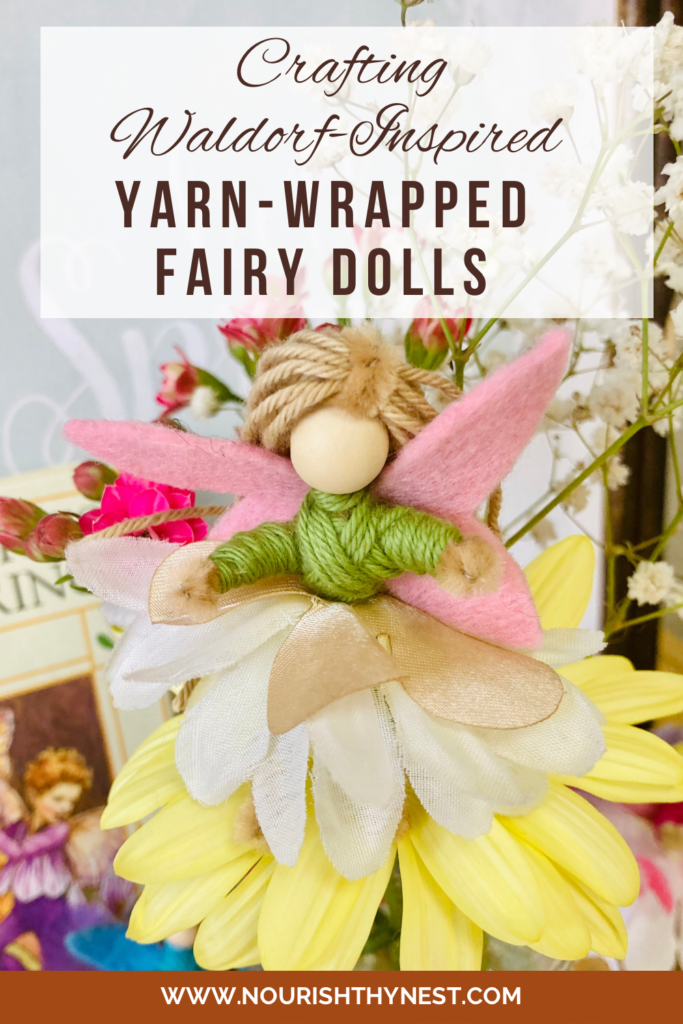
Discover the enchanting world of Waldorf-inspired toy making with these yarn-wrapped fairy dolls! Learn how to create your own using pipe cleaners, wooden beads, felt, and yarn or embroidery floss. Follow this step-by-step guide to unlock the magical potential of these whimsical creations!
Yarn-wrapped bendy fairy dolls are charming and whimsical creations that can spark the imagination of both children and adults alike. Plus they are so easy that even young kids can make them too! They make wonderful homemade toys for children to play with themselves, or gifts for grandparents or other friends and family. Just be sure to be available to help young children with some of the trickier parts, like tying knots and attaching the wings.
By combining simple materials such as pipe cleaners, wooden beads, and yarn or embroidery floss, you can bring these delightful dolls to life. In this blog post, we’ll guide you through the process of making your very own yarn-wrapped fairy dolls.
Materials Needed:
- Pipe cleaners in desired skin-tone color. I usually choose a light beige to go with natural blonde wooden beads, or a dark brown to go with dark brown wooden beads.
- Wooden beads in desired skin tone: light wood or you can get these in various shades of dark, medium, and light colors
- Yarn or embroidery floss (assorted colors)
- Scissors
- Tacky Glue or Hot Glue (optional)
- Felt in assorted colors
- Fairy wing template (download free here)
- Artificial decorative flowers
Step-by-Step Instructions:
- Planning and Design: Before diving into the crafting process, take a moment to visualize and plan your fairy doll. Consider the color scheme, hairstyle, and any additional accessories you’d like to incorporate. Having a rough design in mind will make the subsequent steps easier.
- Creating the Body: Start by bending your pipe cleaner in half, then cut into two equal halves. Bend one of the halves in half again, and twist a few times (see video below). This will serve as the body for your fairy.
- Take a wooden bead and insert the body of the fairy into the hole until the top just comes through. There should be a small loop sticking through. (See video below)
- Take the other half of the pipe cleaner and bend in half, and cut in half again. Take one half and twist it midway through the pipe cleaner body, about where the fairy’s arms should be, just under the wooden bead that is the dolls’s head.
- Bend the tips of each pipe cleaner end end down a little to blunt the sharp end of the pipe cleaner. This will also make hands and feet for your fairy.
- Begin Yarn Wrapping: Select a color of yarn or embroidery floss that matches your fairy’s desired color scheme. Begin by securing one end of the yarn to the doll’s head or body by wrapping the yarn tightly around the pipe cleaner and tying a knot, leaving a 2 inch tail. Slowly wrap the yarn around the doll’s torso in a cross-cross pattern (see video), ensuring it covers the pipe cleaner completely.
- Once the torso is covered well, begin wrapping the arms up and down until they are well-covered and it looks like your doll is wearing a shirt.
- Move on to wrapping down the doll’s middle section and down and up each leg until they are well covered. Your doll will now look like it is wearing a little mono-color jumpsuit. Tie the yarn off by double knotting it close to the dolls body where the legs meet the torso. Cut the yarn, leaving another 2 inch tail.
- Make the fairy wings: print out the free fairy wing pattern template, and carefully cut it out. Choose a piece of colored felt for the wings, and trace the wings onto it using a matching colored marker (I just used a Crayola washable marker), and then cut the wings out.
- Attach the wings to the back of the doll by placing the wings on the back of the doll and tying the two yarn tailed together. (As shown in video). Double knot to secure.
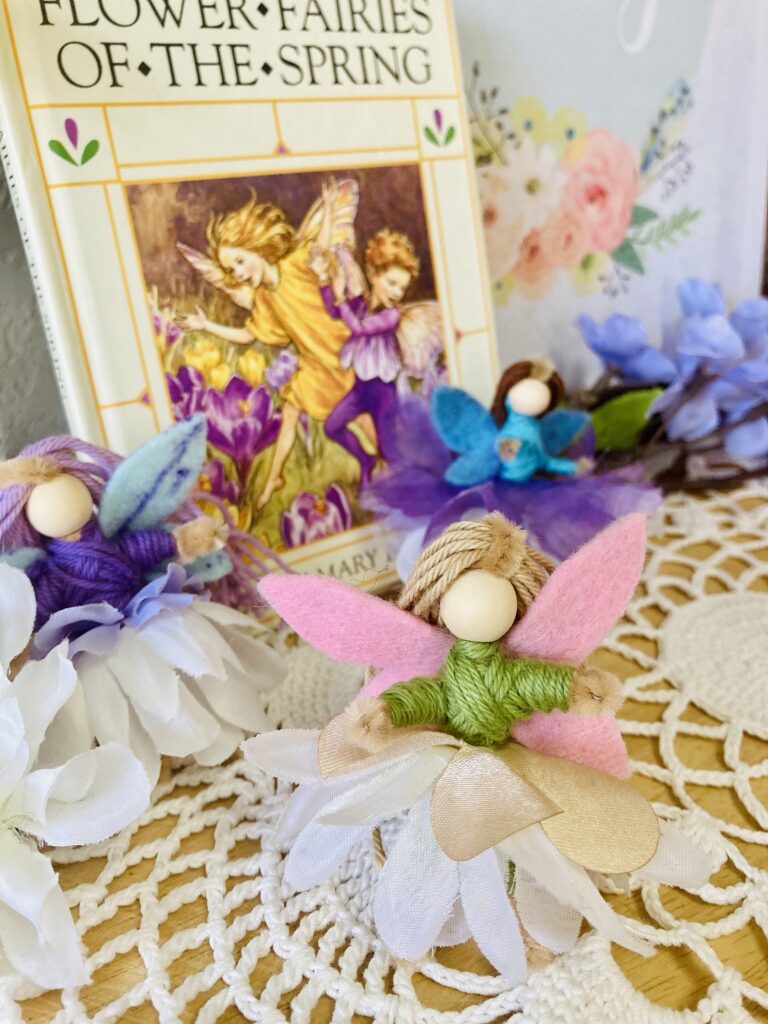
- Create a flower fairy skirt using artificial flowers (see video): pull the stem and backing off your artificial flowers, and remove a few petals. Push your doll’s feet through the hole in the center of the flowers. If the hole is too small, carefully cut 3 slits at equal intervals into the fabric around the hole. Use petals of different sizes to create a layered skirt effect. Arrange them so the smallest flower petals are on the top of the skirt, then layer the next size under, ending with the largest size on the bottom layer.
- Hair and Hairstyle: To create the fairy’s hair, measure yarn or floss to desired length, and then cut as many pieces as desired in equal lengths to make the dolls hair. Feed it through the loop at the top of the bead, leaving equal length on each side. (See video). Attach the hair to the rest of the fairy’s head by gluing it with craft glue or hot glue. Trim the hair to your desired length, and then style as desired or leave loose.
And done! So easy!
Creating Waldorf-inspired yarn-wrapped fairy dolls is such an enchanting craft project that allows you to explore your imagination and tap into your artistic side, while also creating something beautiful for (or with!) your children. With these simple materials such as pipe cleaners, wooden beads, and yarn or embroidery floss, you can bring these magical creatures to life.
Follow the step-by-step instructions outlined in this blog post to craft your own whimsical fairy dolls and let your creativity take flight.