**This blog is reader supported, and some of the links in this post are affiliate links, meaning, at no additional cost to you, I will earn a commission if you click through and make a purchase. As an Amazon Associate I earn from qualifying purchases**
Embracing the magic of the winter solstice with children brings a unique joy and warmth to the coldest season. As the days grow shorter and the air crisper, this celestial event becomes a perfect opportunity to create cherished family traditions.
And our new creative winter crafting adventure will help you do just that!
Creating traditions such as this one is part of the Nourishing Seasonal Rhythm our family follows. Learn more about this here.
In this simple DIY project, we’ll transform an old plastic salad container into a dazzling Winter Solstice sun catcher, perfect for kids and adults alike.
Just follow my step-by-step guide here to craft a magical decoration that captures the essence of winter with evergreen sprigs and faux snow.
Step 1: Gather Your Materials
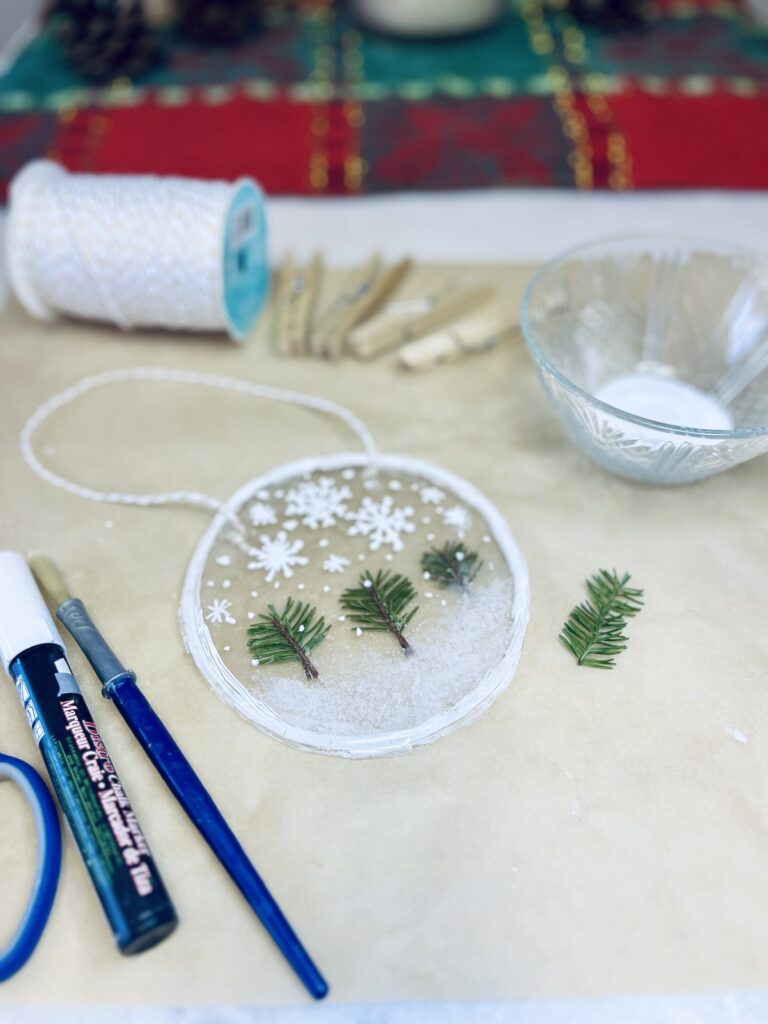
To get started, gather these simple materials:
- Empty, clean plastic salad container with labels removed
- Sharpie or white chalk marker (my fav for this activity!)
- Scissors
- Real evergreen sprigs from non-toxic evergreens such as spruce or cedar. (Do not use Yew, Ponderosa Pine, or Nordork Pine as these varieties are toxic! Fir trees are only mildly toxic, and as long as children are old enough to avoid putting them in their mouth those are generally fine. Washing hands afterwards is also a good idea!)
- Old paintbrush
- Non-toxic Clear Glue
- Salt
- Twine or yarn
- Optional sharp nail, awl, or large push pin to use to poke holes for hanging. (You can also just tape them onto a sunny a window)
Step 2: Prep Your Workspace
Create a crafting space that’s easy to clean up. Lay out newspaper, parchment or wax paper, or a plastic tablecloth to catch any glue or salt spills.
Step 3: Cut Circles from the Salad Container
Using the sharpie or chalk marker, trace around a bowl or small salad plate, or other circular container in your preferred size to create circles onto the lid of your salad container. I used an old plastic deli container for ours. Make 2 circles for each sun catcher.
Then, using scissors, carefully cut the circles from it. These will serve as the base for your sun catcher.
Be sure to supervise kids during this step, ensuring their safety.
Step 4: Decorate with Evergreen Sprigs
Let your imagination shine by arranging evergreen sprigs on the plastic circles. Secure them in place with glue, creating a festive and nature-inspired design.
We arranged ours so that they look like little trees in a snowy forest. (Follow me on Instagram to see my Reels tutorial!)
Cover the surrounding area with a layer a of glue using an old paintbrush.
Step 5: Sprinkle on Faux Snow
Add a touch of winter magic by sprinkling salt onto the area surrounding the evergreen sprigs.
The salt mimics the look of glistening snow, enhancing the beauty of your sun catcher.
We placed ours on the bottom 1/3 so that it resembled a snow-covered forest floor, and it looks so magical!
Next, cover your other circle cut-out with a layer of clear glue, and place over the top of the one with your snowy scene. Clamp with some clothespins or paper clips to hold it together while it dries overnight.
You can also add small pieces of tape around the edges to help hold everything together more securely.
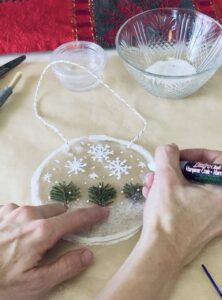
Step 6 (optional): Using a chalk marker, decorate the outside of the sun catcher with snowflakes or whatever inspires your imagination!
Step 7 (optional): Punch Holes for Hanging
Use a sharp object such as a nail, awl, or large pushpin to make holes to use for hanging your sun catcher. Punch one or two holes near the top of each sun catcher circle. This is where you’ll thread the string or yarn for hanging your masterpiece.
Step 7: String or Tape It Up
Thread a piece of string or yarn through the hole and tie a knot, creating a loop for hanging. Adjust the length according to your desired display location.
You can also simply tape them to your window using scotch tape.
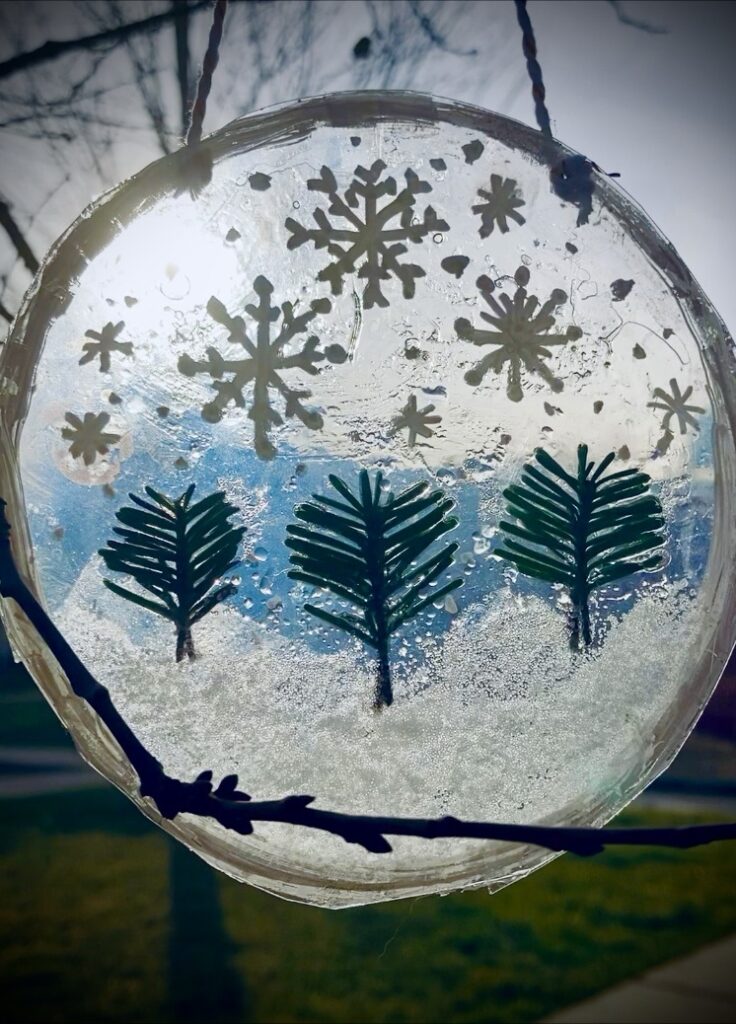
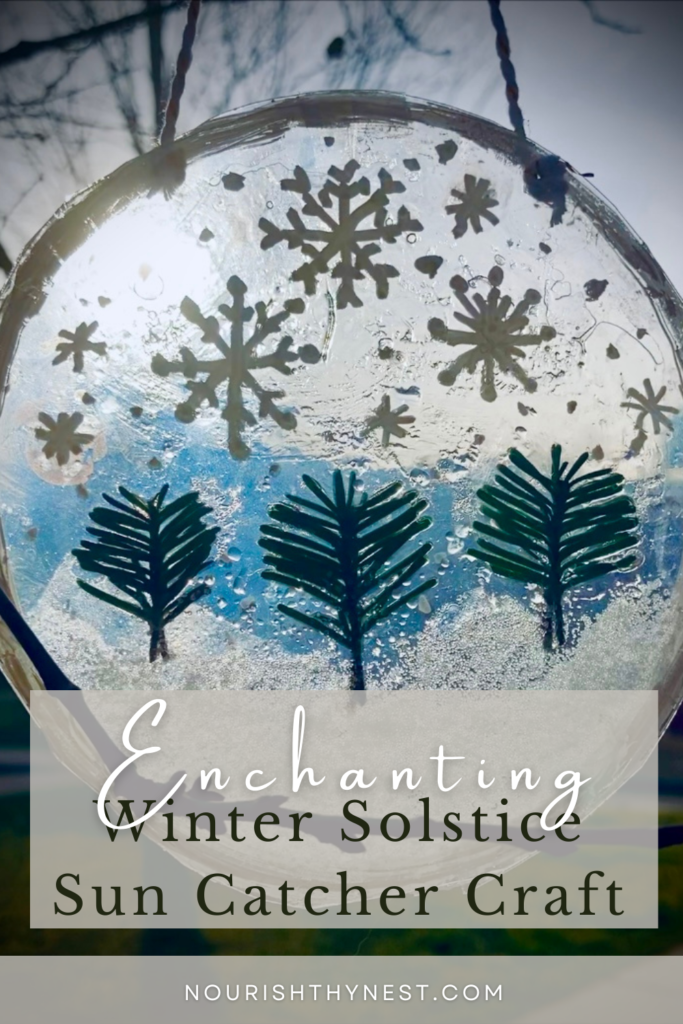
Voila! We’ve crafted a stunning Winter Solstice sun catcher, repurposing a simple salad container into a festive masterpiece.
Hang your creation in a window and watch as the winter sunlight transforms it into a dazzling display of art and nature.
Enjoy this delightful craft with your kids, fostering creativity and an appreciation for upcycling, while also bringing a sense of meaning and reverence to the magic of the Winter Solstice.