**This blog is reader supported, and some of the links in this post may be affiliate links, meaning, at no additional cost to you, I will earn a commission if you click through and make a purchase. As an Amazon Associate I earn from qualifying purchases**
There’s something magical about crafting holiday ornaments with your children during the winter season. It’s the act of creating something beautiful, and the memories formed in the process—hands covered in dough, giggles filling the room while we sing along to our favorite holiday music, and the scent of cinnamon or peppermint wafting through the air. Making ornaments is a cherished part of our family’s holiday rhythm, and I’d love to share this simple yet meaningful tradition with you.
I grew up making old fashioned salt dough ornaments, and those also make lovely ornaments. But once we discovered baking soda dough I can never decide which I like better!
Why Baking Soda Dough?
Baking soda dough is a natural, non-toxic alternative to store-bought crafting clays. It’s smooth, easy to work with, and hardens beautifully, creating long-lasting keepsakes.
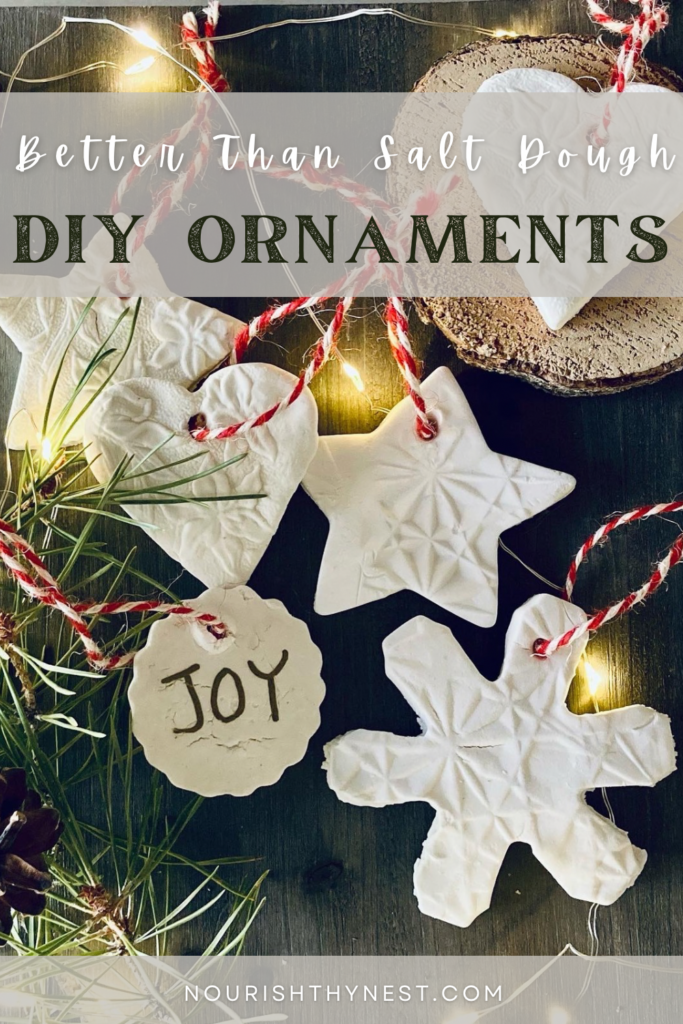
The dough is also a luminous snow-white, which is especially lovely for the holidays. And unlike salt dough, you can easily write on the ornaments you make using sharpies or other permanent markers, and the words come out as crisp and clean as if it was paper! Because of this, you can also use them as beautiful tags for holiday gifts, giving them a unique handmade touch.
And of course, these ornaments are perfect for adorning your tree, gifting to loved ones, or simply enjoying as a sensory-rich crafting activity with your children.
The Recipe
Here’s my tried-and-true recipe for baking soda dough. It’s quick to whip up, and the addition of essential oils makes the experience even more delightful.
Ingredients:
1 cup baking soda
½ cup cornstarch
¾ cup water
Optional: 5 drops of cinnamon or peppermint essential oil
Step-by-Step Instructions
1. Mixing the Dough
In a medium saucepan, combine the baking soda and cornstarch. Slowly stir in the water until everything is well combined and smooth. If you’re using essential oils, add them now for a subtle holiday fragrance.
2. Cooking the Dough
Place the saucepan over medium heat and stir continuously. The mixture will start to bubble and thicken. Keep stirring until it forms a thick, tooth paste like consistency.
3. Cooling the Dough
Remove the dough from the heat and transfer it to a clean surface or bowl. Let it cool slightly until it’s comfortable to touch. Cover it with a damp cloth to prevent drying as it cools.
4. Rolling out the Dough
Knead the dough a few times, and if it seems to dry add water, or if it’s sticky add more corn starch a little at a time.
Using a rolling pin, roll the dough out to about ¼-inch thickness.
*note: if the dough is cracking when you are rolling it out, it means it’s a bit dry. Wet your hands a bit and knead the dough a little to re-moisten.
5. Adding Texture to the Dough
Before cutting out your shapes, add some natural textures to the dough as you roll it out!
You can use an embossed rolling pin or even a drinking glass with an embossed pattern to create intricate designs. You could even try using cookie stamps like these! (I haven’t tried this yet, but plan to at some point, and will post an update when I do!)
For a nature-inspired touch, press sprigs of evergreen, rosemary, or other greenery into the dough, then gently remove them to leave behind their delicate impressions.
Rolling a pinecone over the dough can also create a rustic, textured look. These details add charm and make each ornament truly unique.
6. Shaping
Use cookie cutters in festive shapes like stars, trees, and hearts to cut out your ornaments.
7. Making Holes for Hanging
Using a straw or skewer, carefully create a small hole at the top of each ornament for threading ribbon or twine.
7. Drying the Ornaments
Place your ornaments on a baking sheet lined with parchment paper. You can let them air dry for 24–48 hours, flipping occasionally, or bake them at 175°F (80°C) for 1–2 hours, turning halfway through. Baking will speed up the drying process but keep an eye on them to avoid cracking browning. Personally, I think that letting them air dry is the best method, but if you don’t have time baking does work. However, I do find that they can become brittle more quickly in the oven.

Decorating the Ornaments
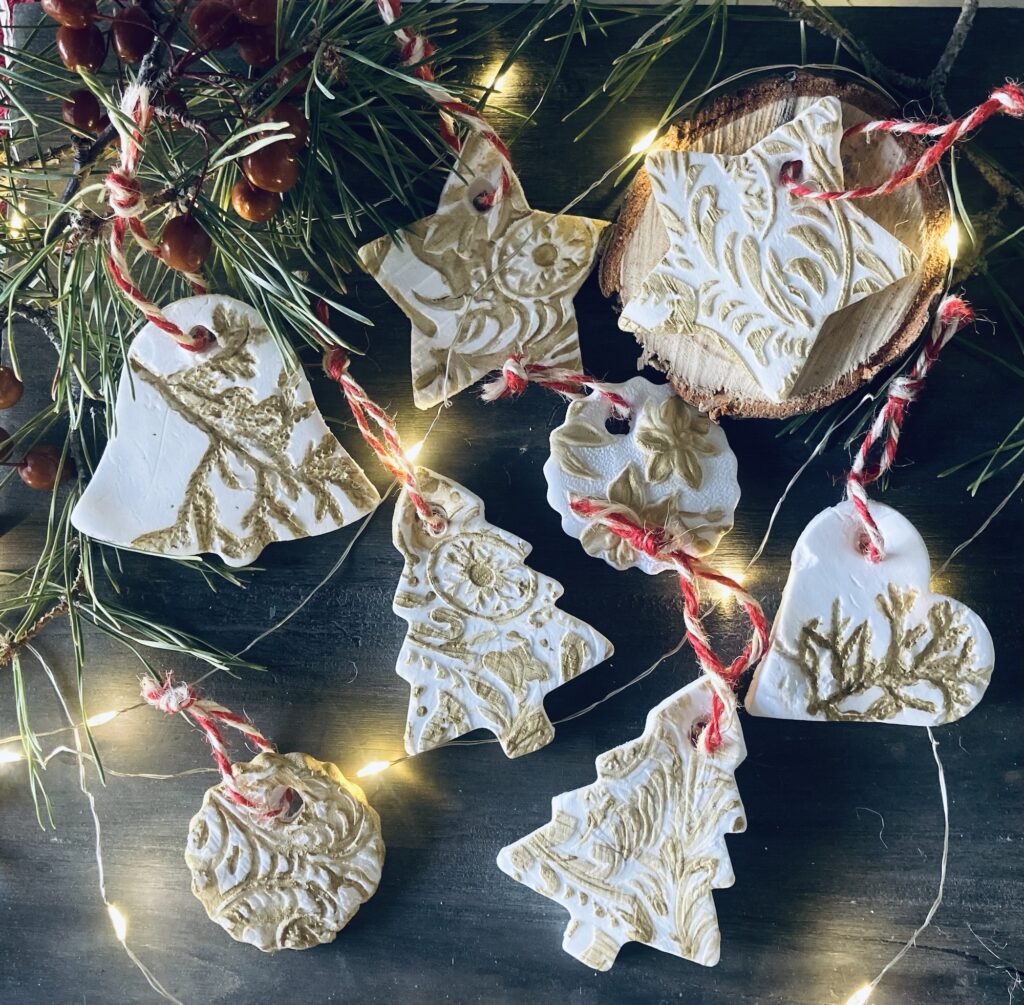
The natural white embossed ornaments are lovely just as they are, but they can also be beautifully decorated if you are so inspired!
Decorating your ornaments can be as simple or creative as you’d like.
You can paint them with non-toxic water-based enamel paints like these with a touch of shimmer, or even use natural food coloring to dye the dough before shaping it.
Beet juice creates a soft pink hue, turmeric gives a golden yellow, and spinach water offers a lovely green. These natural dyes create a subtle, earthy palette that feels beautifully aligned with the season.
A Gift from the Heart
Homemade baking soda dough ornaments also make wonderful gifts. Wrap them in kraft paper with a sprig of evergreen, or thread them with twine to create a bit of rustic holiday charm for friends and family.
These little treasures, handmade with love, carry the warmth of your home and the time spent together as a family. They’re the kind of gift that touches hearts, reminding us all of the joy of simplicity and connection during the holidays.
A Rhythm of Togetherness
As we gather around the table to create these ornaments, I’m reminded of the beauty of slow, intentional living. This simple project allows us to pause, connect, and celebrate the season in a meaningful way.
When the ornaments are complete and hanging on the tree, they serve as little reminders of the joy we shared while making them. Their handmade charm is far more precious than anything we could buy, which brings a cozy warmth to our home and hearts.
I hope this tradition brings as much joy to your family as it has to mine. Wishing you a peaceful and nourishing holiday season filled with love, creativity, and cherished memories.

